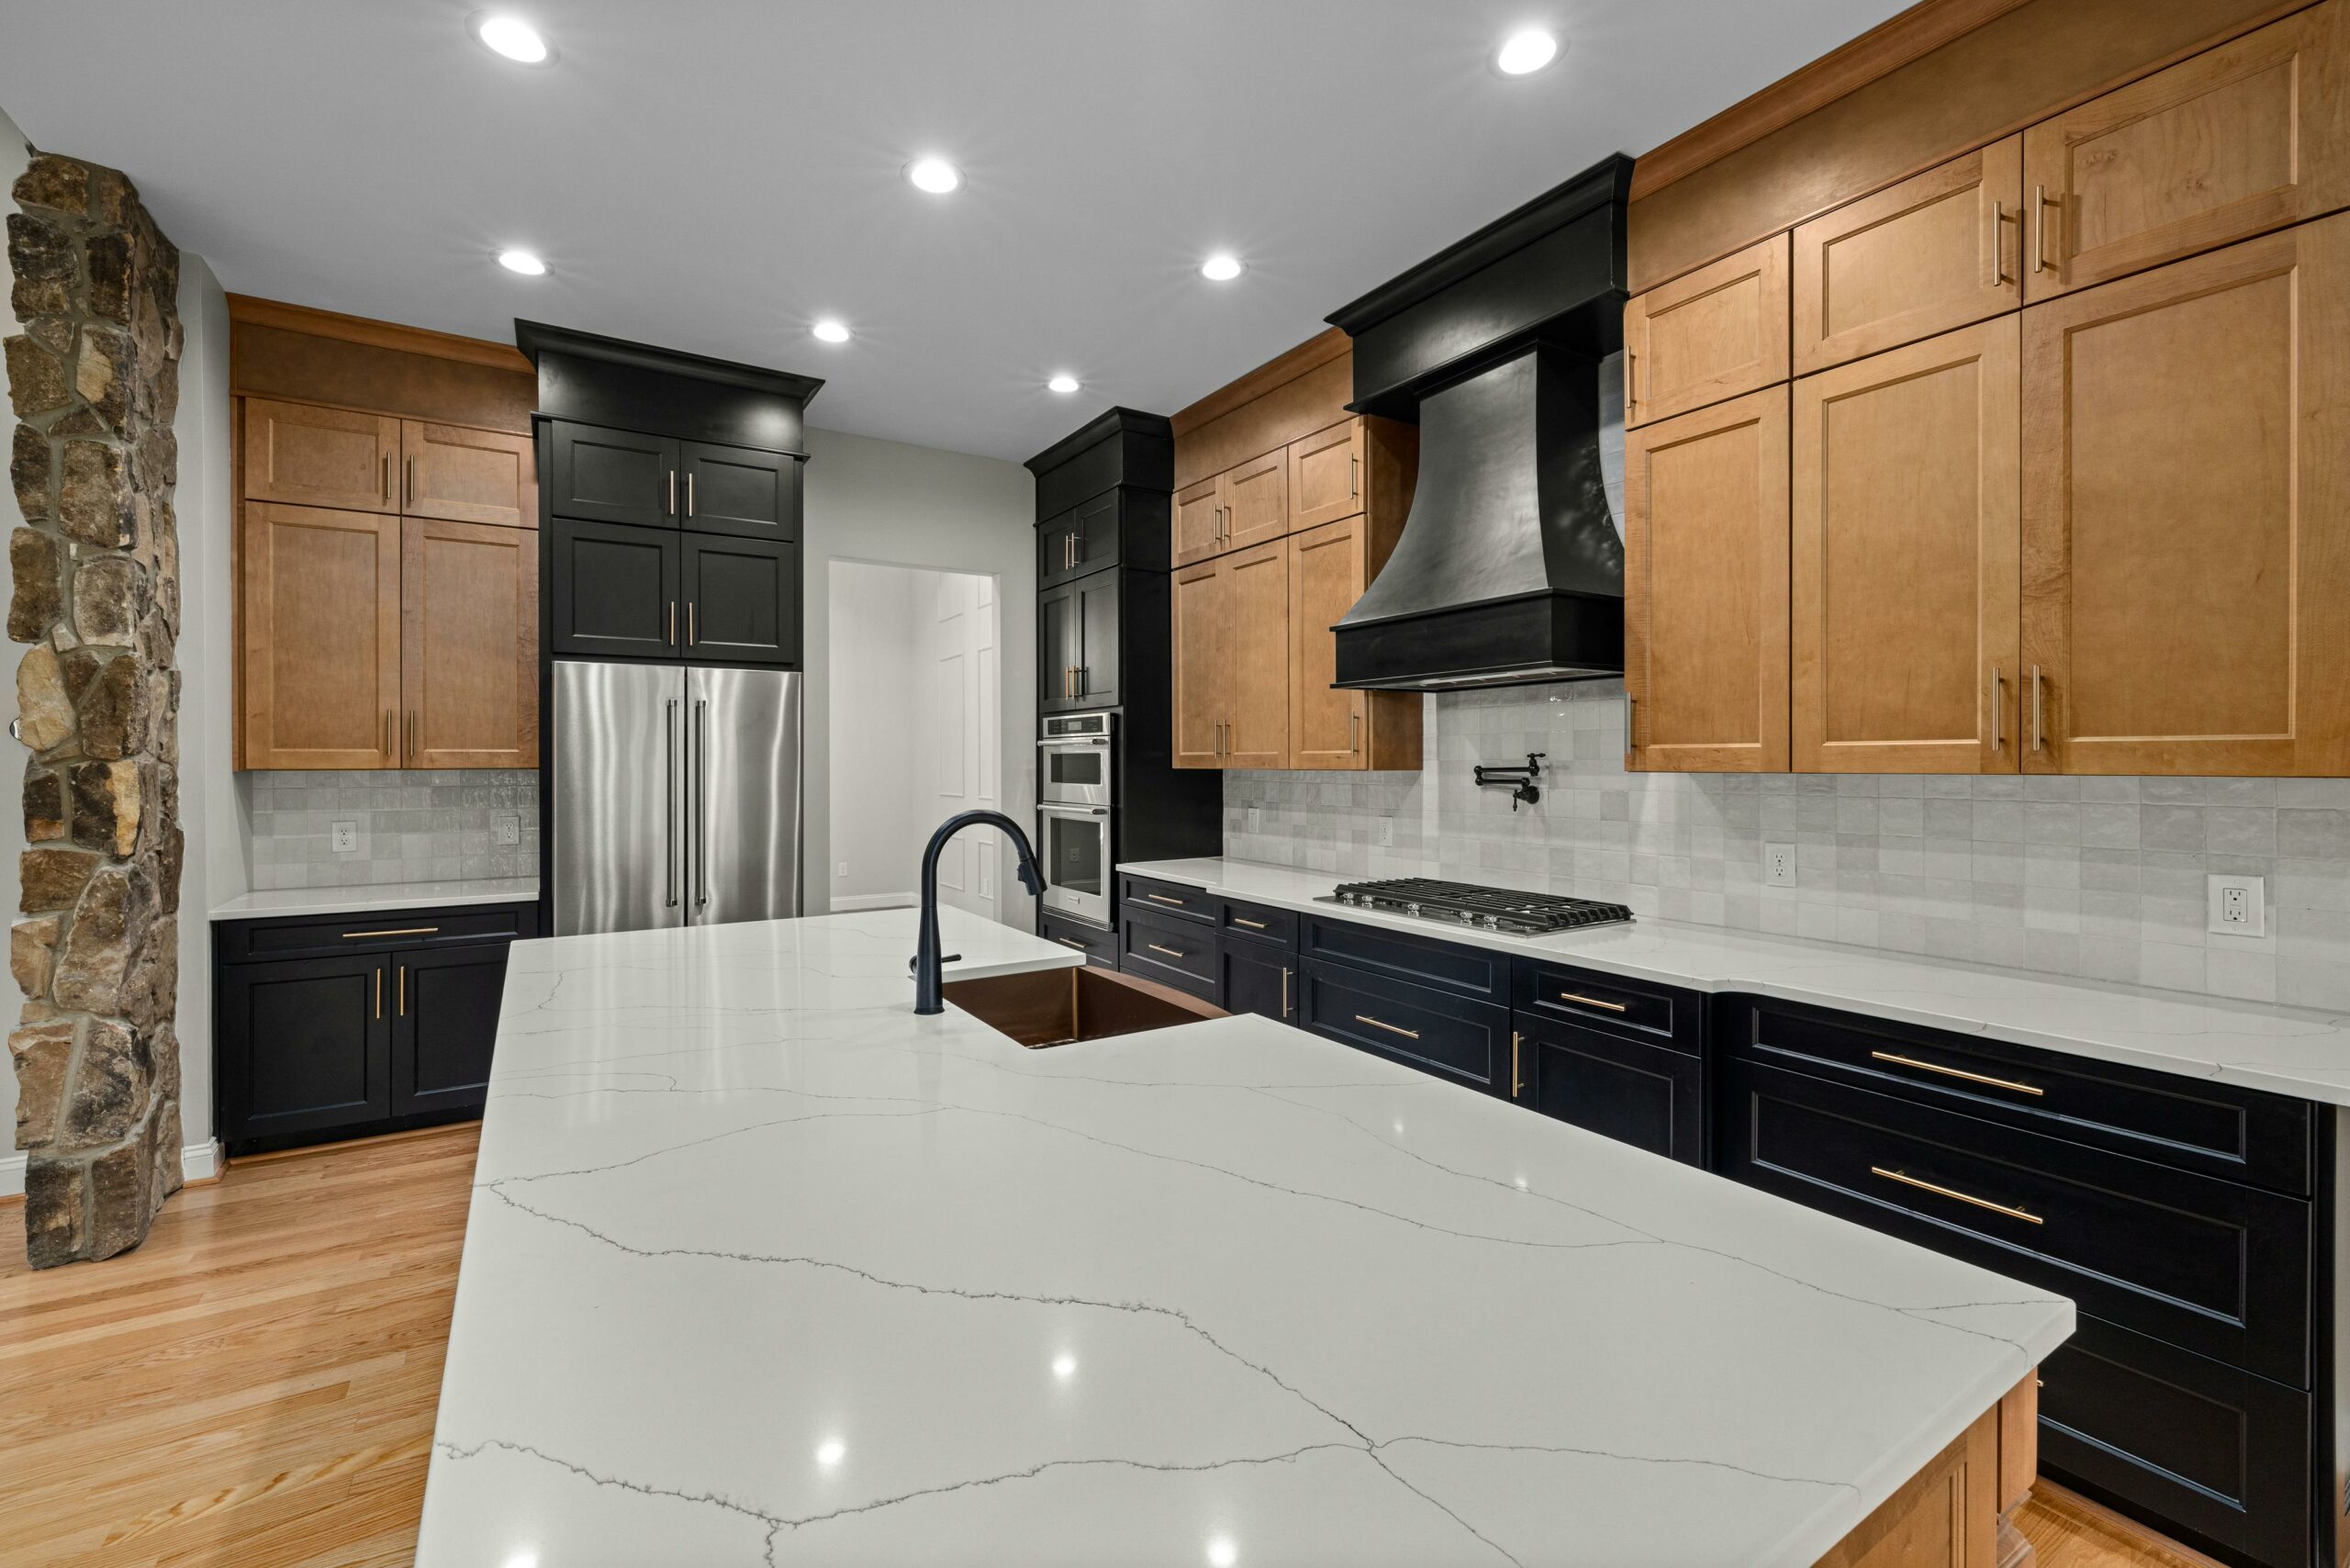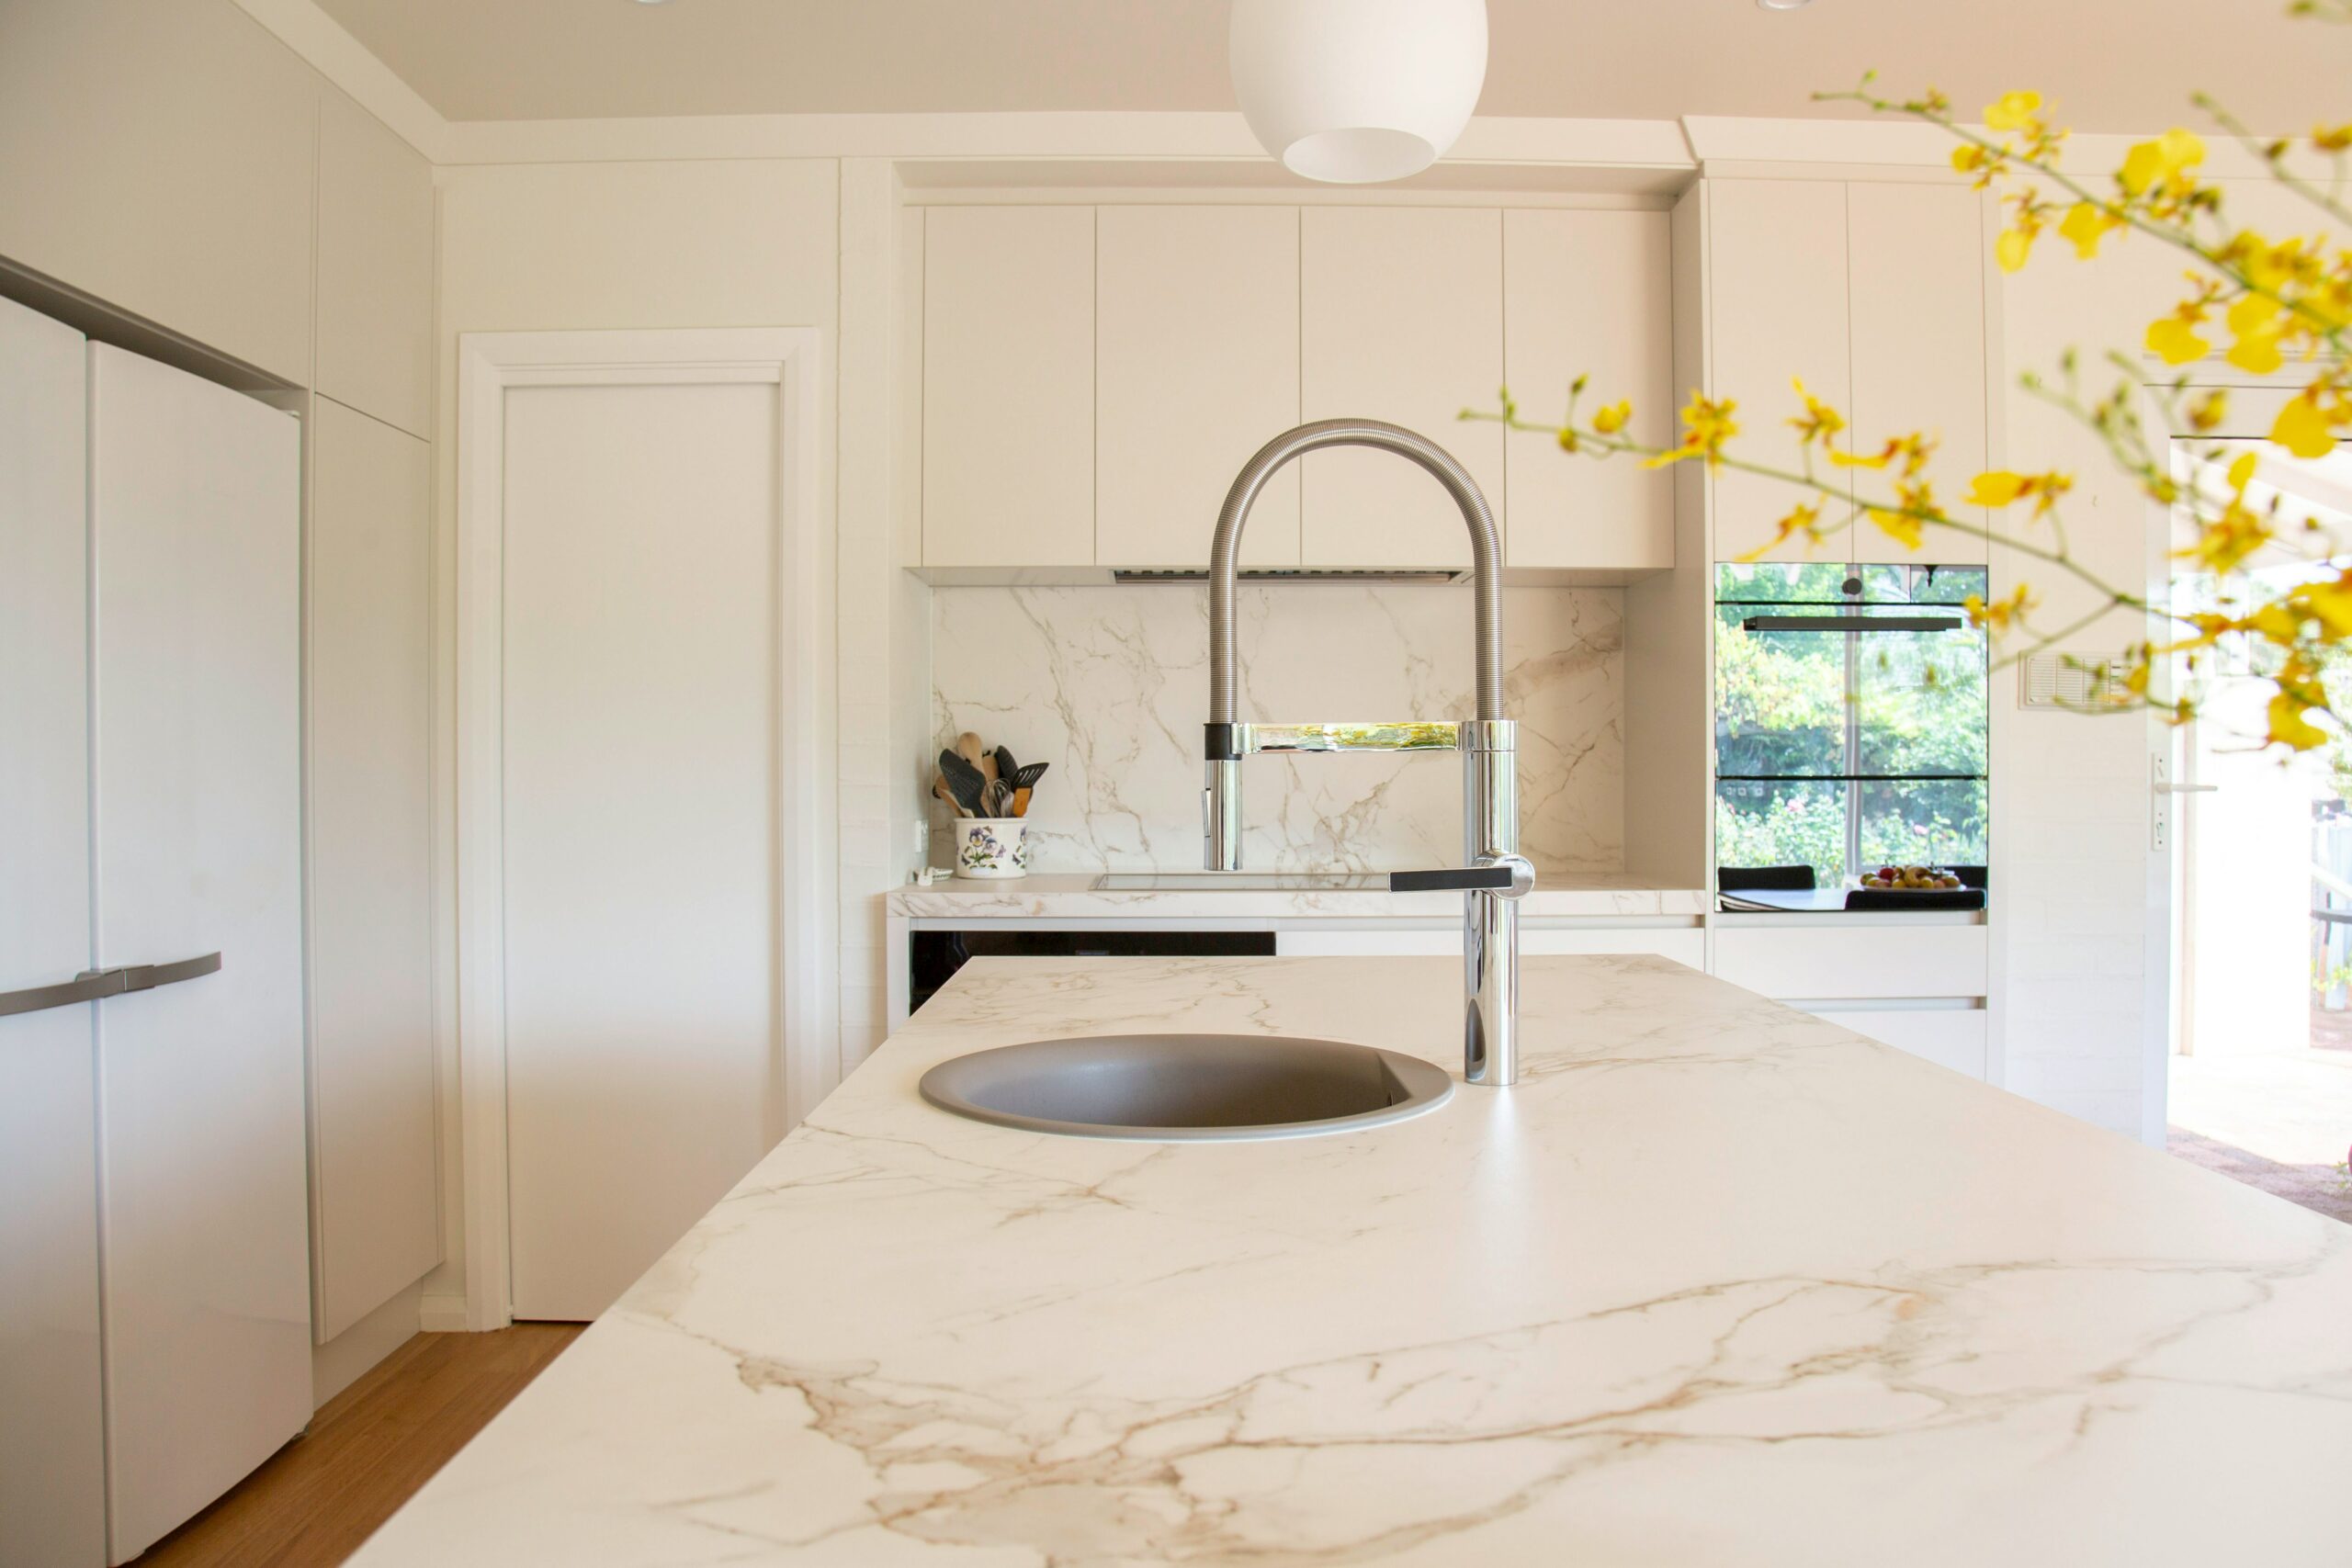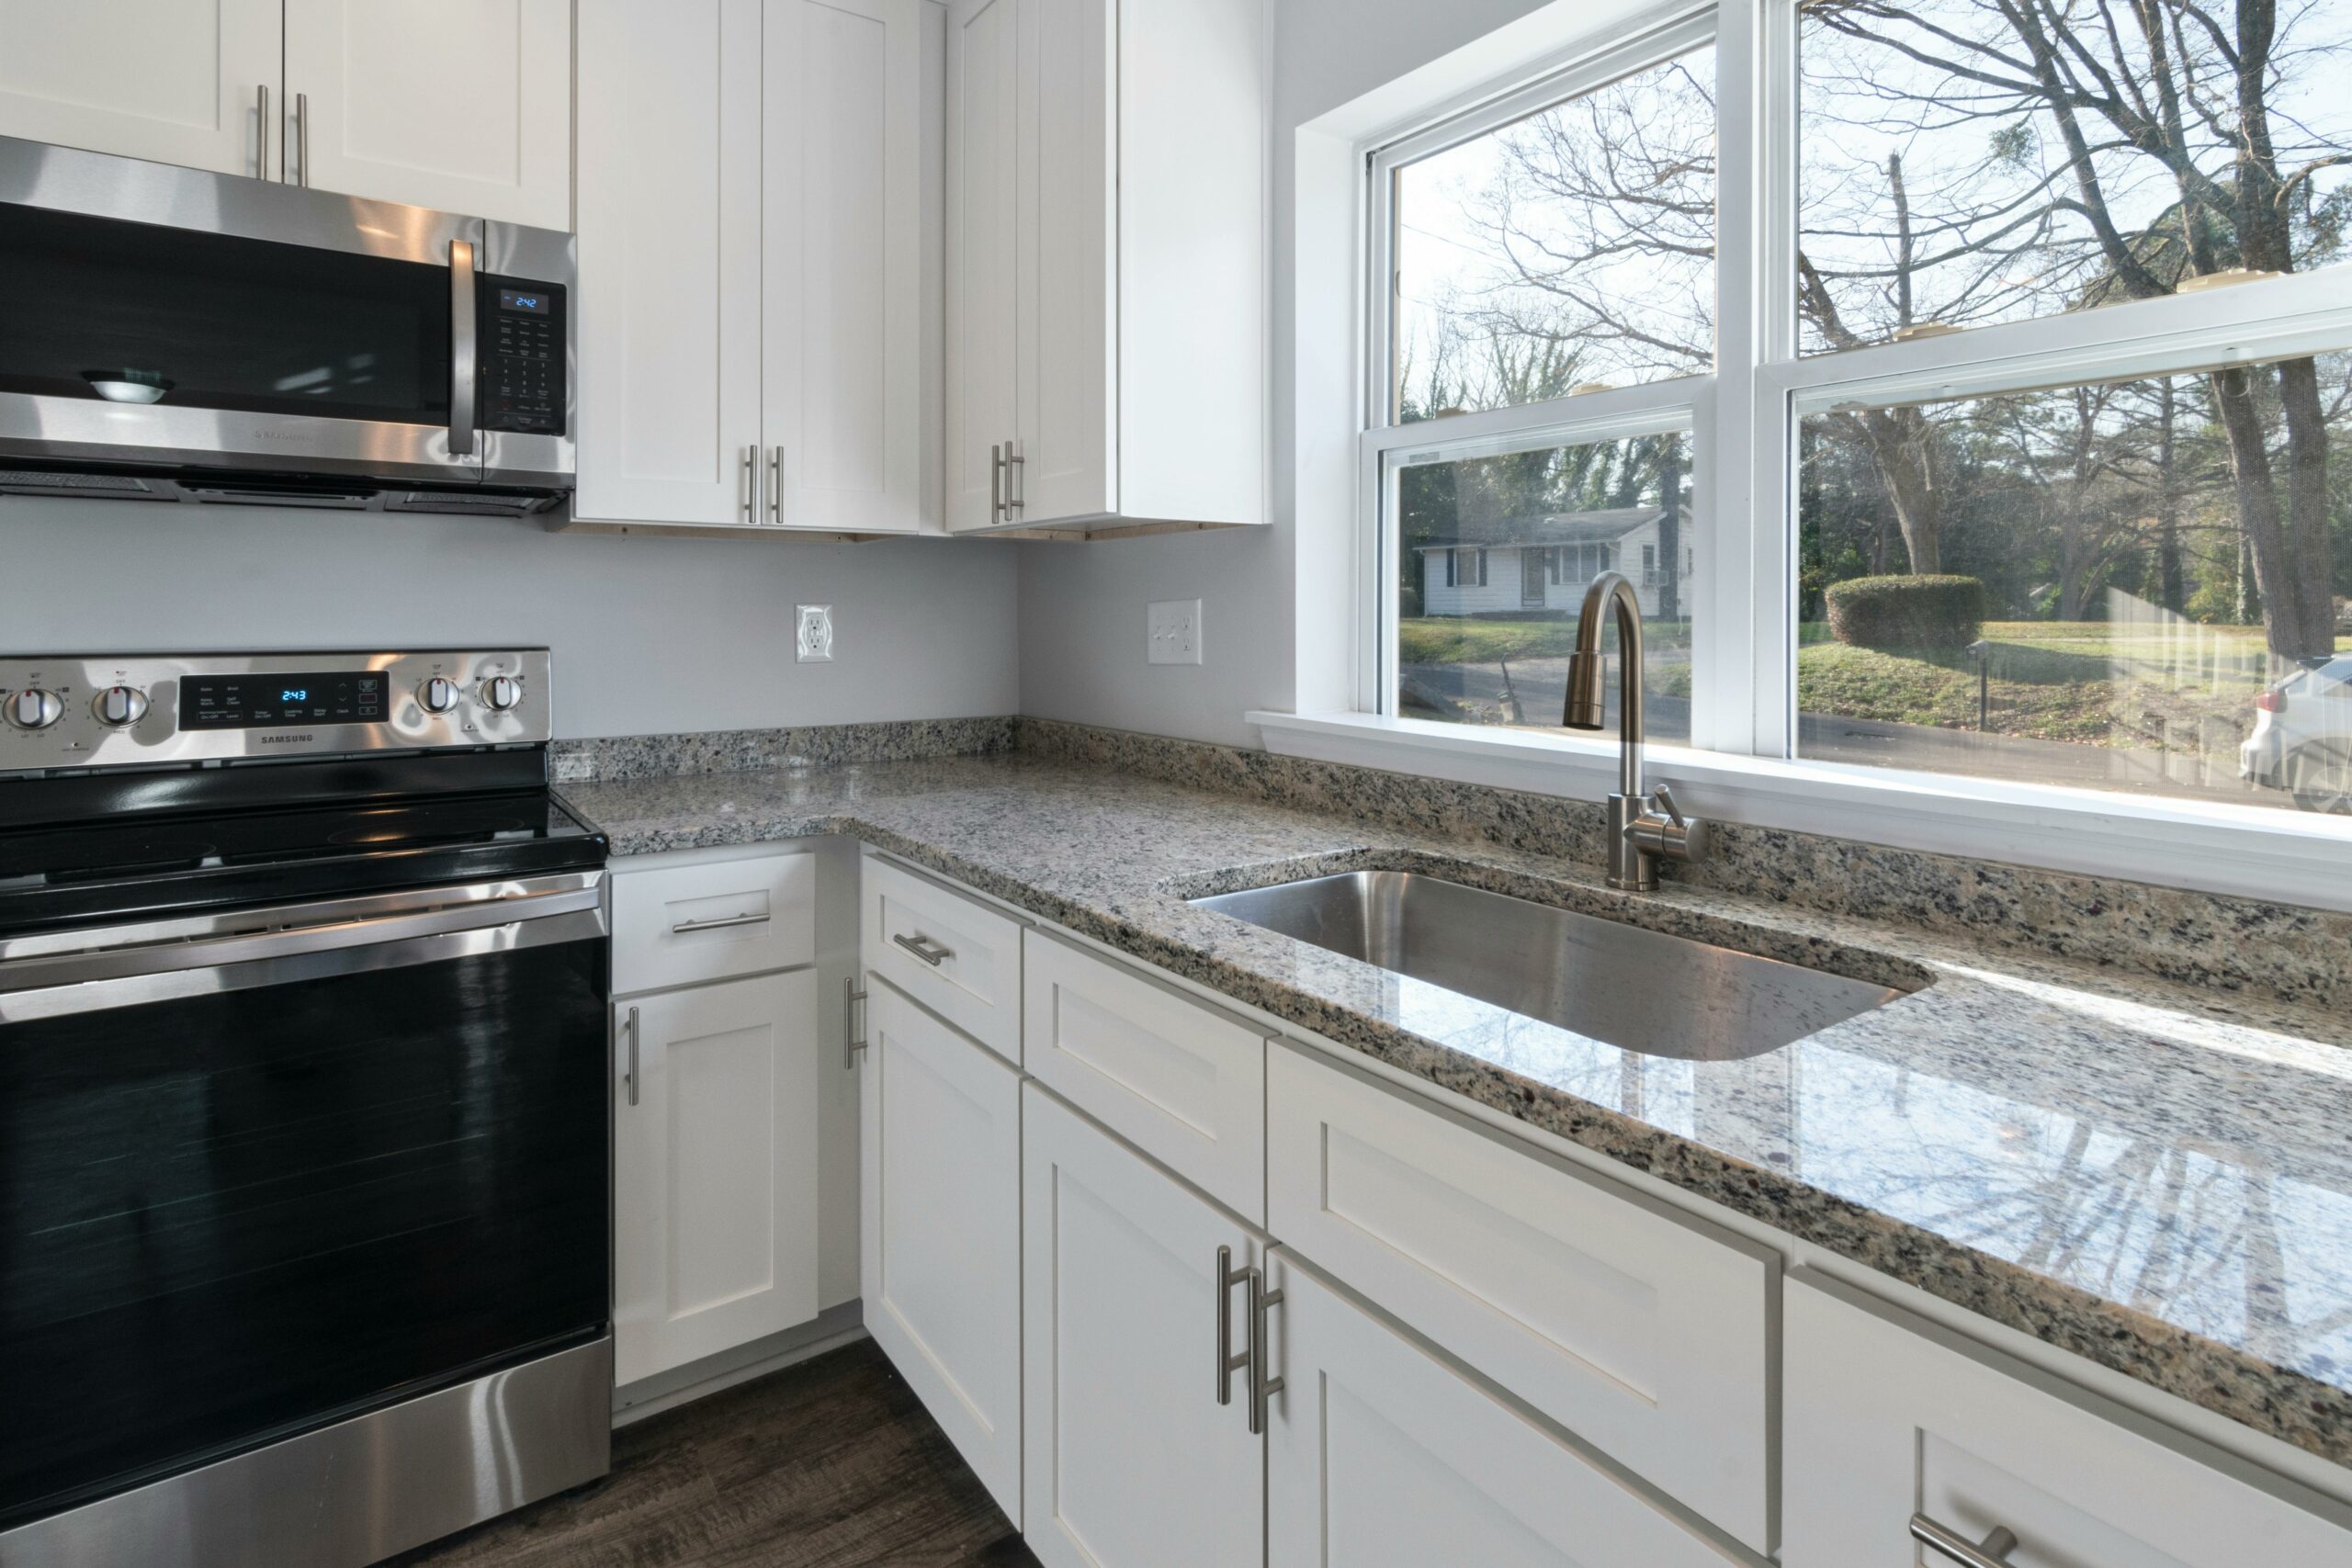
Natural stone countertops are a luxurious and durable addition to any kitchen or bathroom, offering timeless beauty and long-lasting performance. But what exactly goes into creating those stunning surfaces? In this post, we will walk you through the entire process so you can feel confident in your decision to choose stone for your next renovation!
1. Selecting the perfect slab
The journey to your new countertop begins at the stone yard. Each slab is a natural material and unique. During this stage, you will choose the piece that best suits your style and needs while keeping these factors in mind:
- Color and pattern: Stone comes in a wide variety of colors and patterns, ranging from bold and dramatic to subtle and serene. Whether you are looking for a modern appearance or a warm, earthy feel, there is a slab that matches your vision.
- Size and shape: The size of your space and the layout of your countertops will dictate how many slabs you need. A careful assessment ensures the stone is cut to your specifications to minimize waste.

2. Cutting and Shaping the Granite Slab
After the design is finalized and the template is made, the slab is ready for fabrication. This process includes:
- Cutting the stone: The slab is carefully cut according to the template using diamond-tipped saws that handle the hardness of the material, ensuring clean and precise cuts without chipping.
- Shaping and polishing: Once cut to size, we shape the edges and polish the surface to achieve a smooth finish. This process brings out the natural beauty and highlights the unique character of the stone.
- Openings: Any necessary cutouts for sinks or cooktops are made with precision to ensure everything fits perfectly during installation.
3. Quality control and inspection
Before your countertops are ready for your home, we conduct a thorough quality control check. This step ensures that:
- The stone is free from cracks or defects that could affect its durability.
- The edges are smooth and consistent with no sharp corners or irregularities.
- The measurements are exact so your countertop fits your space perfectly.
4. Installing your stone countertop
The final step is installation, where all the hard work comes together to transform your kitchen or bathroom!
- Preparation: Our team ensures your cabinets are properly prepared to support the weight of the stone since these materials are heavy and require a secure base.
- Transporting the slabs: We carefully transport the pieces to your home to ensure no damage occurs during the journey
- Placement and securing: Once on-site, we place the slabs and secure them to the cabinets. Our team takes extra care to align the pieces correctly for a seamless look.
- Final touches: After the stone is in place, we apply a sealant to protect the surface from stains and wear while making sure everything is perfectly level.
5. Post-installation care and maintenance
Stone is a durable and low-maintenance material, but it still requires regular care to keep it looking its best.
- Sealing: Countertops should be sealed periodically to maintain resistance to stains and moisture. We will recommend the ideal schedule based on your specific stone.
- Cleaning: Use a mild soap or stone-specific cleaner to wipe down the surface. Avoid harsh chemicals that could damage the finish.
- Maintenance: While natural stone is highly resistant to scratching, it is always a good idea to use cutting boards and avoid placing hot pots or pans directly on the surface.
Ready to start your project?
Contact Stone Masters USA today for a free quote and discover how we can transform your space with stunning custom stone countertops!